If you are anything like me, you have a thousand different color pages, do-dads, pretty papers and all kinds of other homemade crafts your child has created at school and/or at home. And, these pieces of paper, every single thousand one of them, are so important and precious that they cannot be thrown away (no matter how hard I try to get rid of a few!!) Now, a small tidbit about me is that I HATE CLUTTER. So, this was becoming a real issue for my home and sanity. But don’t worry, I Googled it, and there is an easy fix!! All you need is one empty, out of the way wall, and a few supplies and you will have those masterpieces up and clutter free in no time!!
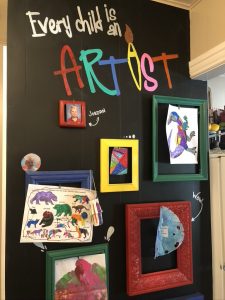
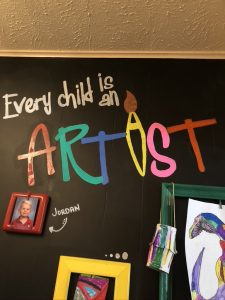
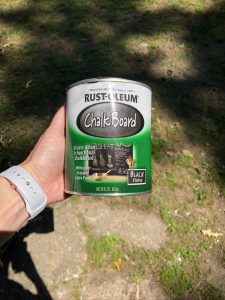
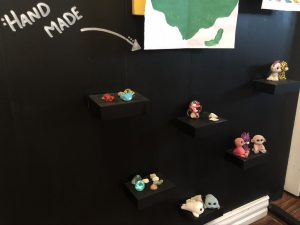
So, first things first. You will need to find a small wall that is not being used for anything at the moment. We have a half wall in our pantry that was perfect for this. You will need to paint the wall with chalkboard paint (I did at least 2 coats) and let it dry for at least a day. I noted the kind I used, but any brand should work the same. Next, you will want to arrange your wall with how many picture frames you will be using and your title. The best way I can suggest to do this, is get scrap pieces of paper, cut them out about the sizes of the items that are going to be on the wall and start arranging them with tape. I have used this with other projects (my DIY Gallery Wall) and it is a great way to visualize how your set up wall will look. Once you have an idea of where everything will go, you will need to put down your title for the wall. I decided on a quote by Picasso, “Every Child Is An Artist”, but to each his own. You go with what you like best!!
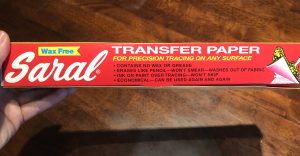
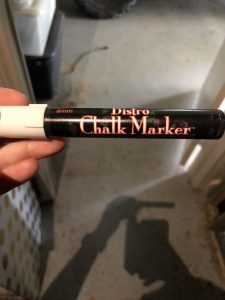
Now, I am horrible at free hand writing. So, guess what? I Googled it. You’re shocked, I know. Anyways, I found an easy solution. You will need to purchase some transfer paper and then print out on a regular piece of paper your phrase in the size and font you want. You will then need to put a sheet of the transfer paper under the printer paper and put it on the wall where you want it. You will then trace the lettering on the wall. The transfer paper will leave a white impression on the wall any where you write. You can then trace over the white impression with your chalk-paint pen. I decided to do most of the phrase in white, and then do the word “Artist” in color so it would pop. (I did not document the process, so I don’t really have any pics for it, but if you have any questions, just shoot me an email!)
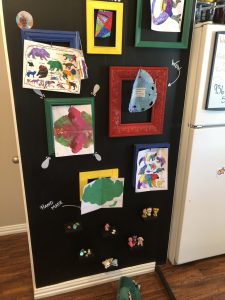
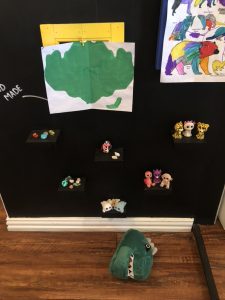
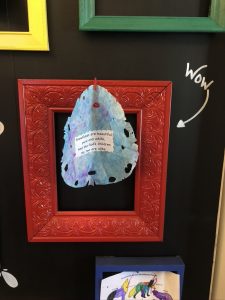
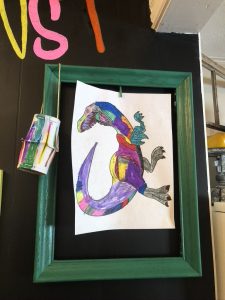
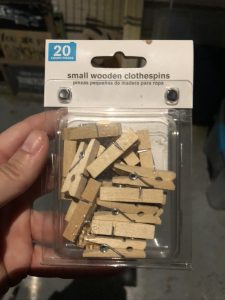
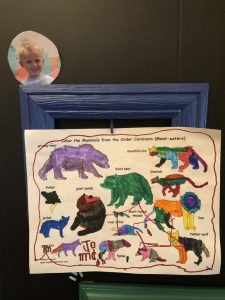
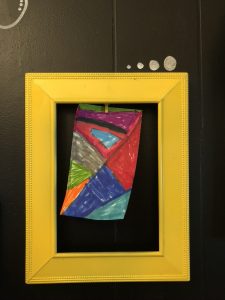
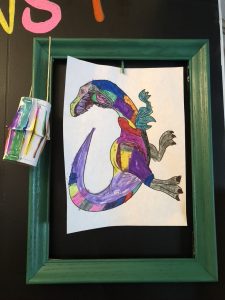
The last step is the picture frames!! So, you need to decide what colors you would like to do and get to spraying. I did several coats on my picture frames (all you need are the frames, so bust them apart and just spray the frame; mine were way old and not being used, so I recycled the glass and trashed the rest). Now, all you will need to do is to attach the frames to the wall. I used command strips on the back, but you can attach them however you like. You will also need to attach a small clothes pin under the frame onto the wall so that you can hang the art work. Now, at the bottom of my wall, I choose to do some small shelves (because Jordan LOVES to hold onto small rocks, acorns, do-dads, and thousand other small thingies). We place all of these sweet treasures on the shelves. I went ahead and spraypainted them black so they would match the wall. Finally, you just need to hang up some fabulous artwork and enjoy!
If you are interested in knowing where I got any materials, I have listed the sites below. Feel free to email me if you have any questions!
If you need help finding supplies, use the links below! Any of these items can be found many places, but I used Target, Amazon and Walmart.